Top Ranked Sentinel Agents for Playing on the Valorant Map Pearl
Pearl can be a bit perplexing, with its labyrinthine corridors in Mid that lead to both spike sites. It can feel like a constant challenge to keep track of the numerous rotations and potential angles where enemies may be lurking. On the attacking side, you have to consider various scenarios, such as opponents pushing from Mid or flanking from the opposite bomb site.
Having the right sentinel agent can greatly alleviate your team’s burden. They can provide vital information on potential flanks and effectively control choke points to thwart enemy advances. To help you navigate Pearl more effectively, we’ve compiled a list of the top sentinels to play with. This way, you’ll be better equipped for your next match.
Table of Contents
Ranking the Top Sentinel Agents on the New Valorant Map Pearl
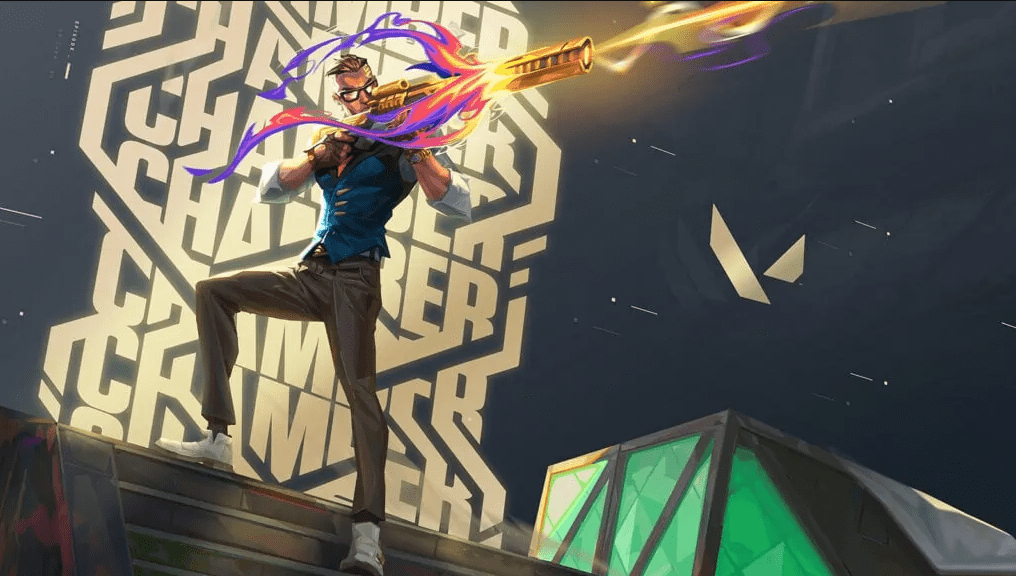
Chamber
Chamber, the popular French sentinel, is currently dominating the competitive Valorant scene with his aggressive playstyle and remarkable ability to swiftly escape from dangerous situations. He is a versatile pick on any map, including the newly introduced Pearl.
The long line of sight leading to the B site offers an ideal playground for snipers, and Chamber possesses multiple strategic positions from which he can effectively control B Main using an Operator. His proficiency in taking aggressive off angles is further enhanced by his teleportation ability, providing him with a reliable escape route at a moment’s notice.
Chamber’s Rendezvous teleporters also grant him the capability to contest Mid early in the game, enabling him to secure crucial picks from either A Art or Mid Doors before making a swift retreat. Additionally, his single trap is particularly effective for holding Mid Doors on the defensive end. When triggered, opponents find themselves trapped within the slow field, rendering them vulnerable to vigilant players in the area. However, it’s worth noting that Chamber’s role as a sentinel deviates from the traditional expectations. With only one trap at his disposal, he may struggle to adequately protect his teammates, making Cypher a more suitable defensive choice.
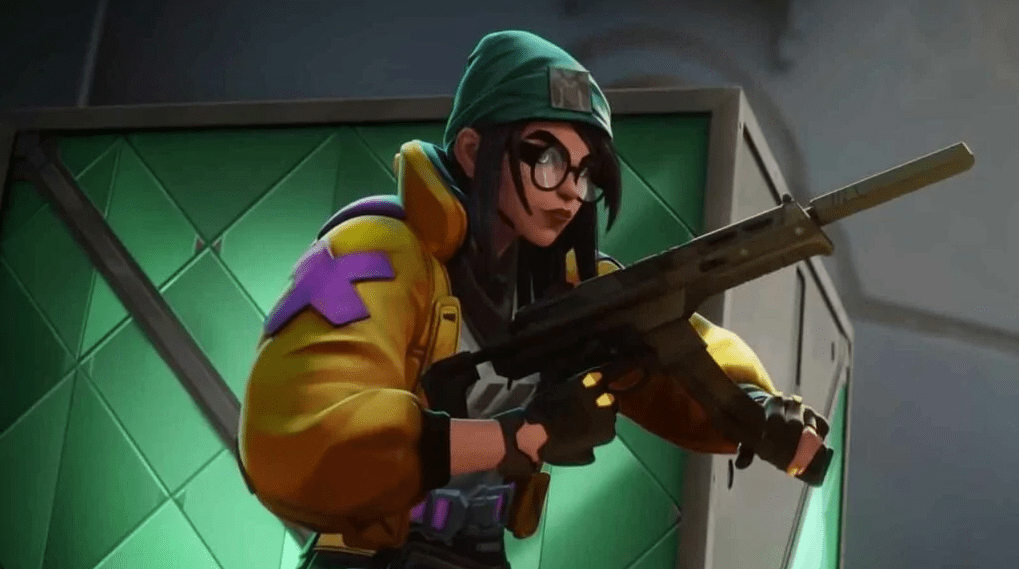
Killjoy
Killjoy’s presence on the Pearl map is a game-changer, thanks to her remarkable tech abilities that add a layer of complexity and control to the gameplay. With her unique skill set, the German prodigy can turn the tides in her team’s favor.
One of Killjoy’s standout abilities is her Lockdown ultimate, which can be exceptionally useful on Pearl due to the map’s size. This ultimate covers the entirety of both the A and B sites, effectively neutralizing opponents and providing an opportunity for your team to execute coordinated attacks or retake control of the sites. The sheer coverage and impact of this ultimate can catch enemies off guard and create a significant advantage for your team.
In addition to her ultimate, Killjoy’s Turret is a versatile tool that can be strategically placed to watch long angles, such as B Main. By deploying the Turret in strategic locations, you can temporarily monitor these areas and allocate your attention to other crucial aspects of the game. This flexibility allows you to adapt to the ever-changing dynamics of the match and respond effectively to potential threats.
Killjoy’s Nanoswarm grenades and Alarmbot further enhance her defensive capabilities on Pearl. These tools are particularly effective in holding down narrow lanes, such as A Art or Mid Doors, where opponents often attempt to push through. The Nanoswarm grenades can deliver substantial damage, forcing enemies to think twice before advancing, while the Alarmbot acts as an early warning system, alerting you to any enemy presence in the vicinity.
When it comes to post-plant situations, Killjoy shines once again. Her ability to land Nanoswarm grenades from both A and B Main gives her a strategic advantage in securing the planted spike area. This allows her to effectively defend the spike and deter opponents from defusing, increasing the chances of a successful round for her team.
READ MORE
- Top Icebox Initiators to Dominate the Map
- How your Valorant ranked MMR is calculated, according to Riot’s senior dev
- The best controllers on Icebox to block enemy sightlines
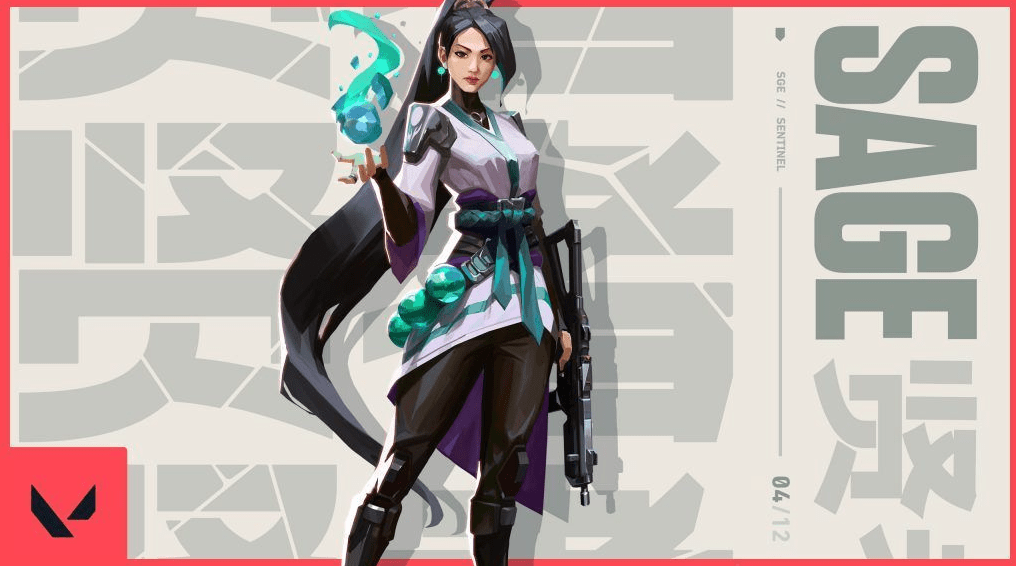
Sage
Sage’s presence on the Pearl map brings undeniable value, just as it does on Split. Her ability to stall enemy advances and deny crucial areas, particularly at Mid, proves instrumental in controlling the flow of the game. When defending, Sage can strategically utilize her Barrier Orb at Mid Doors, effectively blocking off a vital entry point to both the B site and Mid Connector.
The vertical orientation of the Mid Doors wall on Pearl adds an extra layer of effectiveness compared to its Split counterpart. Intruders must break through multiple segments to gain access, creating formidable barriers and buying precious time for Sage and her team. On the offensive side, Sage can employ her wall to obstruct Mid Connector, allowing her team to freely navigate through B Link without the threat of defenders rotating from A via Mid Connector.
Sage’s wall also proves invaluable on the B site itself, enabling swift and early spike plant opportunities in the corner of the site, reminiscent of successful strategies employed on Icebox’s B site. Additionally, for those considering a more aggressive approach as Sage, the diverse array of boxes and elevated positions on Pearl presents numerous opportunities for wall boosts. These unexpected vantage points can catch opponents off guard, providing a tactical edge.
By leveraging her wall strategically on Pearl, Sage significantly influences the outcome of battles by fortifying defenses and creating unique advantages for her team. Her ability to control space and capitalize on distinctive opportunities solidifies her role as an invaluable asset on this map.
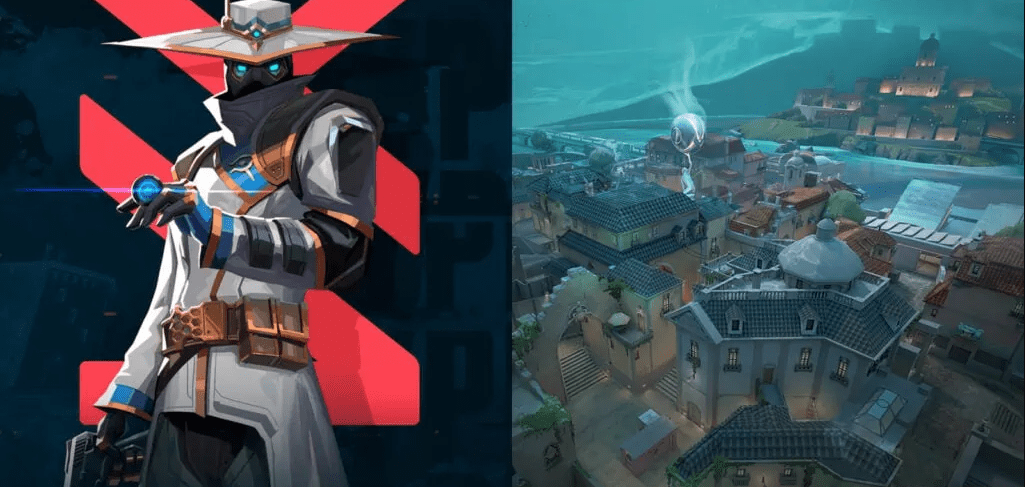
Cypher
Within the submerged city of Lisbon, the enigmatic Moroccan information broker known as Cypher reigns as the most formidable sentinel to deploy. His Trapwires play a pivotal role in ensuring your team remains protected from flanking maneuvers that can arise from the intricate network of interconnected lanes on the map. When compared to Chamber, Cypher surpasses as the superior flank defender on this particular map, thanks to his possession of two Trapwires in contrast to Chamber’s single Trademark trap. As an attacker, Cypher possesses the ability to monitor both A and B Main, whereas Chamber is forced to make a choice between the two.
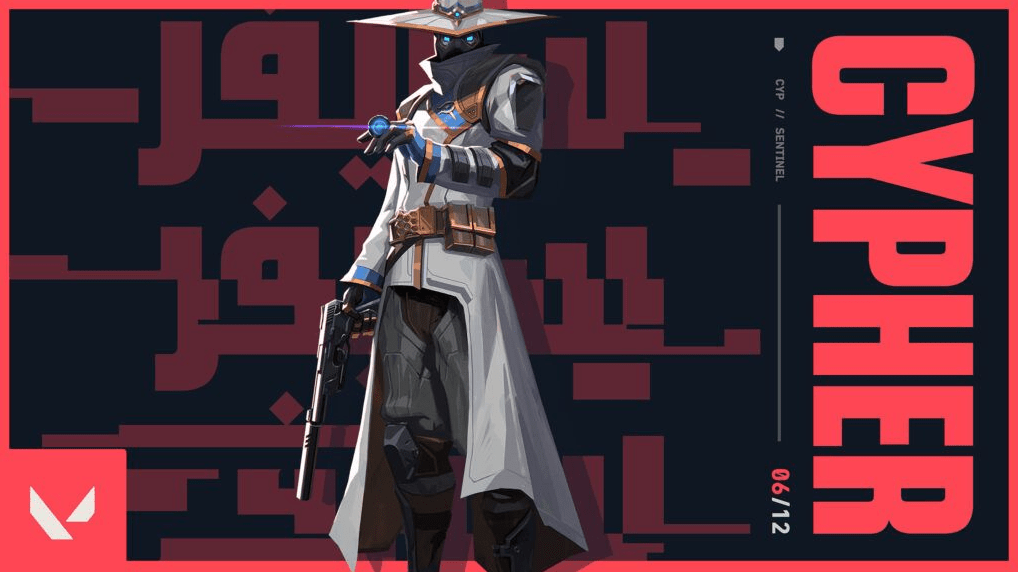
The placement of a cunningly concealed Trapwire can effectively impede adversaries as they attempt to advance through narrow choke points like Mid Doors, granting Cypher the opportunity to secure kills utilizing his Cyber Cage. Additionally, there exist several strategic locations where his Spycam can be positioned, such as the grand archway in front of A Restaurant. This invaluable surveillance tool allows for advanced reconnaissance during offensive maneuvers, providing essential information to the team, while also serving as a watchful eye on enemy rotations during defensive stances.
In the submerged world of Lisbon, Cypher’s expertise as an information broker and his mastery of surveillance techniques render him an unparalleled sentinel. The combined effectiveness of his Trapwires, Cyber Cage, and Spycam weaves a web of intelligence, bestowing a significant tactical advantage upon him and his team in the depths of battle.


