The Ultimate Guide to the Top Valorant Ascent Smoke Strategies for Offense and Defense

Ascent, the first map introduced to Valorant’s map pool following its official release, has undergone a remarkable transformation, solidifying its position as one of the most strategically rich and balanced maps in the game’s history. Whether you’re attacking or defending, understanding the intricacies of Ascent and utilizing effective smoke strategies can make all the difference in securing victory.
When it comes to attacking on Ascent, precision is key. The map features numerous tight corners and chokepoints that require careful smoke placement to block enemy sightlines and create opportunities for safe passage. Mastering mid-control is also crucial, as it allows your team to dictate the flow of the round and apply pressure from multiple angles.
On the defensive side, knowing when and where to deploy smoke screens is vital. Well-executed smokes can effectively slow down enemy advances, disrupt their strategies, and buy precious time for your team to rotate and reinforce vulnerable areas. By understanding the optimal smoke locations for defenders on Ascent, you can effectively deny information and create advantageous situations.
Table of Contents
The best Valorant controller agents for Ascent smokes
When it comes to the controller agents in Valorant’s Ascent map, Omen stands out as the preferred choice among players. Renowned for his versatility and tactical prowess, Omen brings a unique set of skills that make him incredibly effective on this particular map.
Omen’s ability to manipulate vision with his smokes is unparalleled. His Dark Cover allows him to obscure key sightlines and create opportunities for his team to push forward or rotate without being detected. The fact that his smokes can be placed from a distance adds an element of surprise and unpredictability to his playstyle.
Another advantage of Omen on Ascent is his quick smoke recharges. This means he can consistently provide cover for his team, regardless of the round’s progression or economy. It allows for more aggressive plays and gives his team greater flexibility in executing strategies.
One of the aspects that sets Omen apart from other controller agents on Ascent is his ability to set up cheeky one-way smoke positions. These positions not only provide valuable cover but also offer angles where Omen can catch opponents off guard and secure crucial eliminations. The element of surprise that Omen brings to the table can be a game-changer in intense firefights or retake scenarios.
Furthermore, Omen’s Paranoia ability adds an extra layer of utility that can be instrumental during retakes. By blinding enemies in a specific area, Omen can create opportunities for his team to regain control of the site and turn the tide of the round. This utility can be particularly effective on Ascent, where retakes often require meticulous coordination and precise execution.
While other controller agents like Astra, Brimstone, Viper, and even Haven have made appearances in professional play on Ascent, Omen’s versatility, quick smoke recharges, cheeky one-way setups, and retake utility make him the go-to choice for many players. His adaptability and ability to influence the map’s flow make him a force to be reckoned with on Ascent.
In the hands of a skilled player, Omen can single-handedly dictate the outcome of rounds and provide a significant advantage to his team. So, if you’re looking to master Ascent and dominate the competition, Omen should definitely be on your radar as the controller agent of choice.
Valorant Ascent smokes for attackers
A site push
When it comes to executing a successful attack on the A site in Valorant’s Ascent map, there are specific steps and strategies that can greatly increase your chances of a favorable outcome. One key aspect is gaining control over A main and clearing out any defenders lurking in Wines.
To begin, make sure your team moves swiftly and decisively towards A main. Coordinate with your teammates to check corners and eliminate any opponents in your path. Clearing out Wines is crucial as it prevents enemies from flanking or surprising your team from the side.
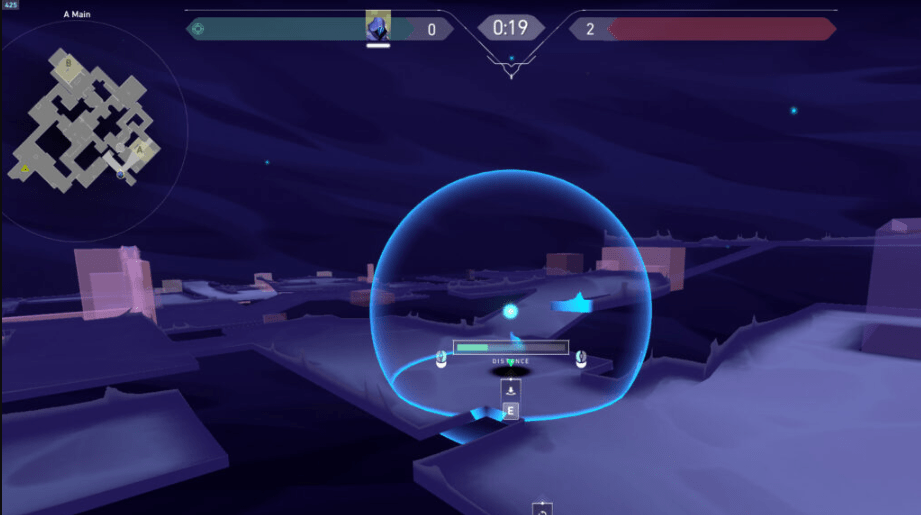
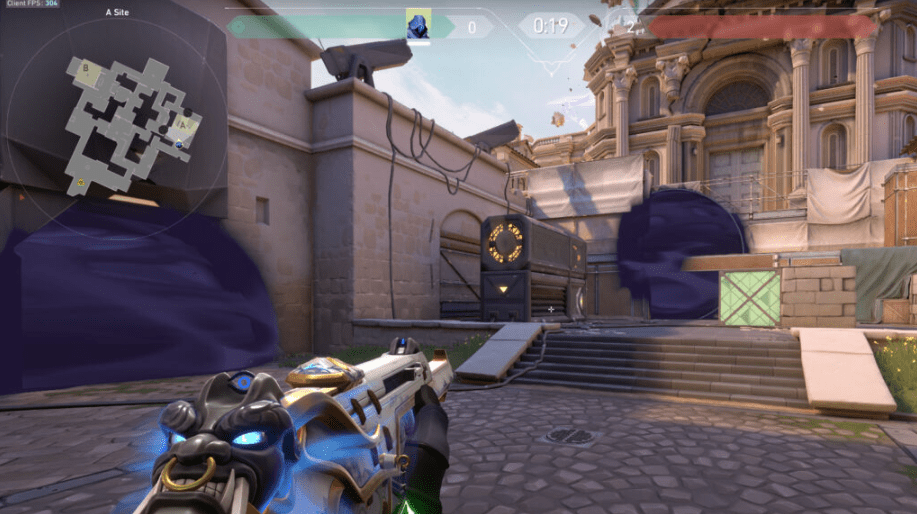
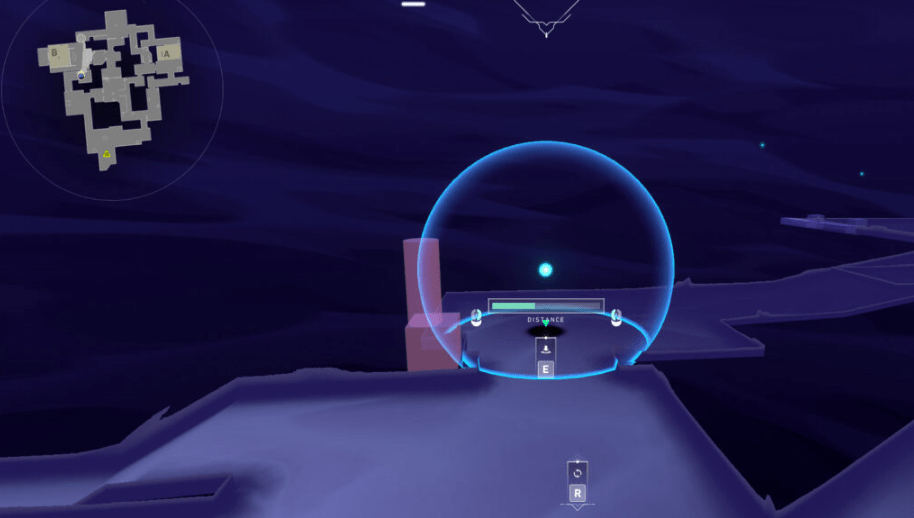
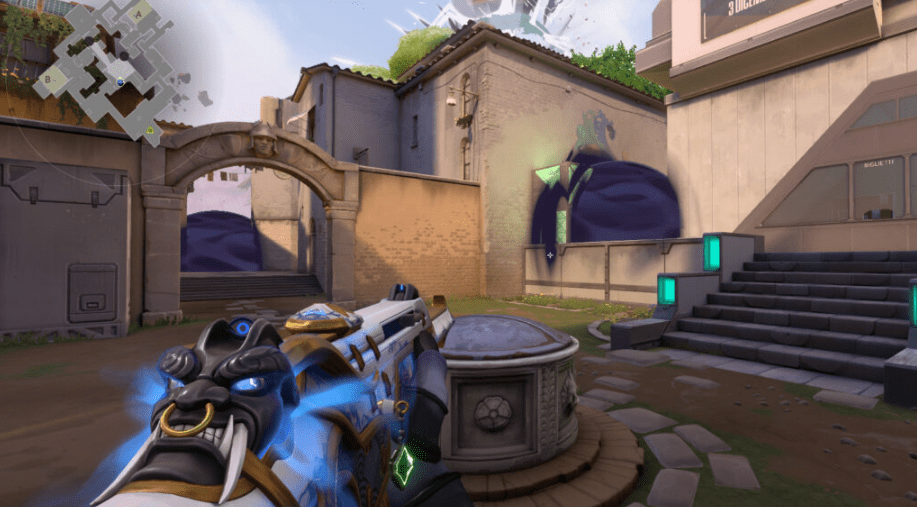
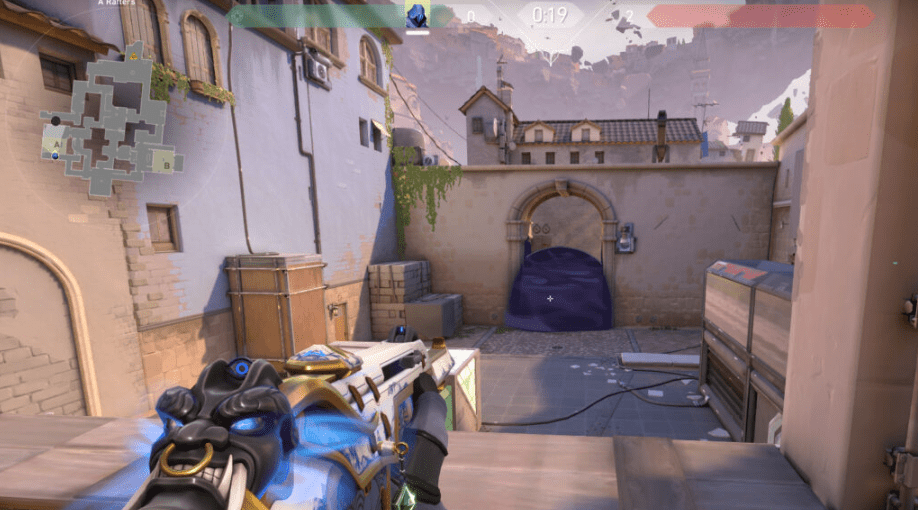
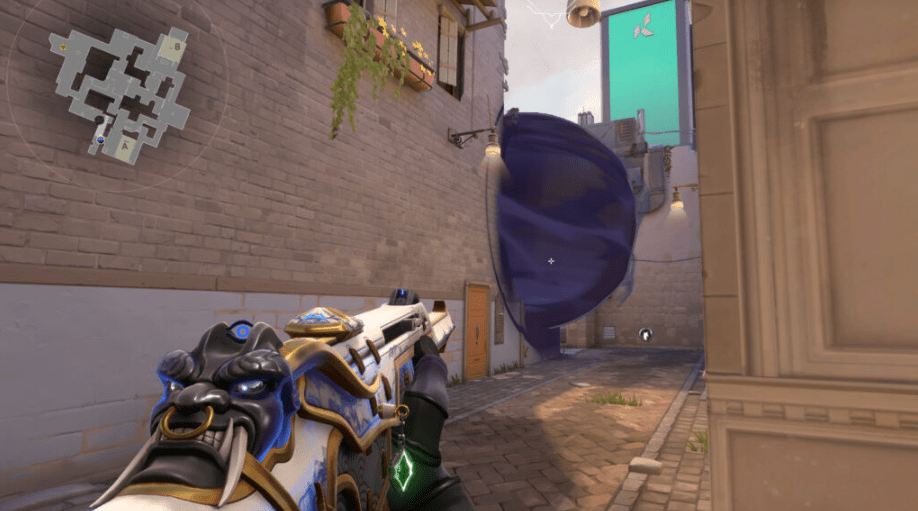
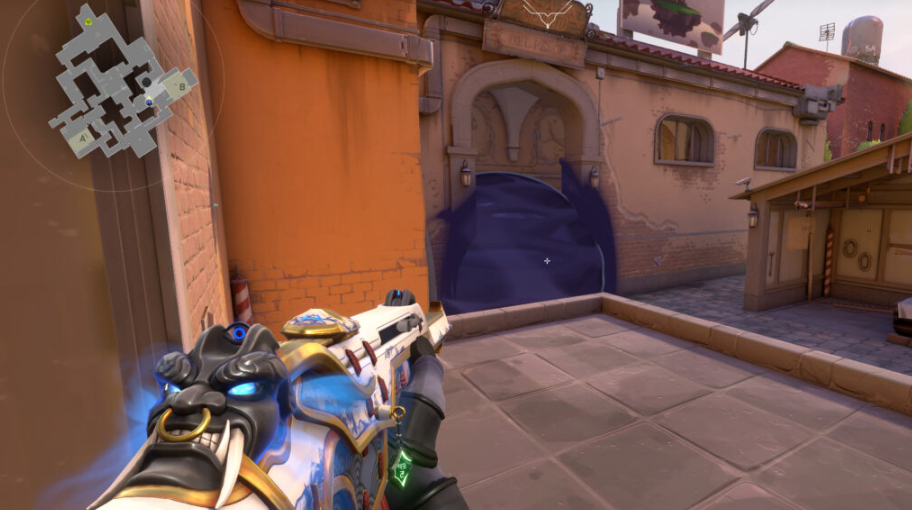
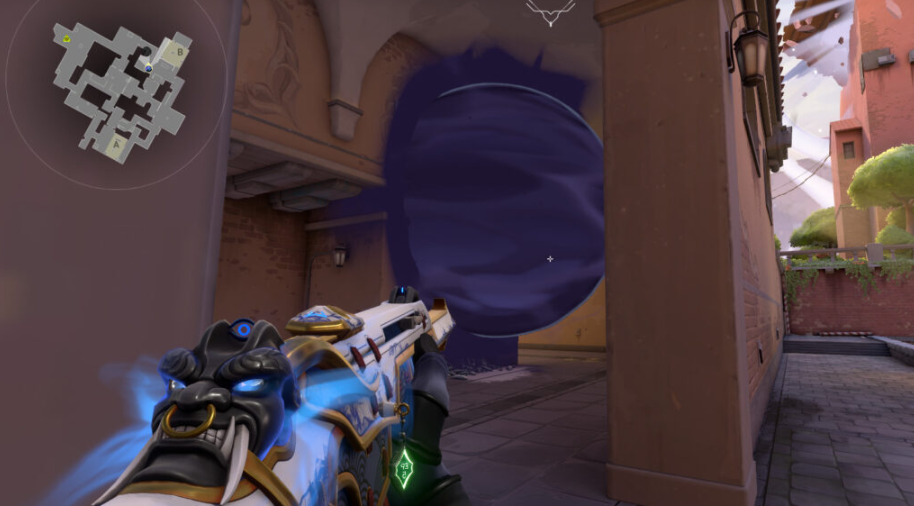
Once you have established control over A main and Wines, it’s time to prepare for the push onto the A site. Smoke screens play a vital role in creating opportunities for your team to advance safely and disrupt the defenders’ line of sight. Two key locations to smoke off are A Heaven and A Short, near the doorway with the switch.
When smoking A Heaven, consider the placement carefully. You can opt for a wider smoke to cover more area, maximizing the obstruction of the defenders’ vision. However, be cautious of opponents attempting to push through the smoke and catch your team off guard. It’s essential to communicate and coordinate with your teammates to handle any potential threats.
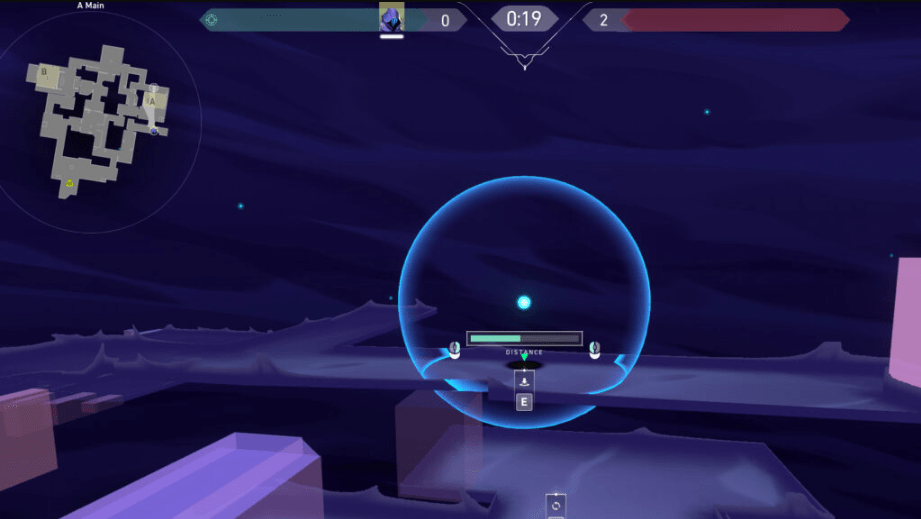
Properly contouring the smoke is crucial to avoid leaving gaps that opponents can exploit. Take the time to practice and perfect the smoke placements to ensure optimal coverage and minimize any vulnerabilities.
Additionally, it’s worth noting that this guide will also cover alternative strategies, such as pushing towards the A site through the mid area. This approach can catch defenders off guard and provide your team with multiple avenues of attack. Stay tuned for detailed insights and tactics on executing successful mid pushes towards the A site.
By following these strategies and maintaining good communication and teamwork, your team can increase the chances of a successful attack on the A site in Ascent. Practice these techniques, adapt to different situations, and always be ready to adjust your strategy based on the current state of the game.
B site push
When it comes to seizing control of the B site on Ascent in Valorant, a well-executed plan can greatly increase your chances of success. The key to a successful attack begins with establishing dominance over the B lobby, similar to how you would approach A main. However, it’s important to be mindful of potential one-way smoke setups and other defensive strategies that can impede your progress and thwart your early control.
Once you have cleared the B lobby and neutralized any lurking defenders, it’s time to execute your strategy and make a decisive push onto the B site. To facilitate your advancement, strategic use of smoke screens becomes crucial. By effectively obscuring specific areas such as the Market’s entrance and the CT angle, you can disrupt the defenders’ line of sight and create opportunities for your team to move forward. However, it’s important to remain vigilant and cautious of defenders positioned towards the back of the site, as they can quickly capitalize on any vulnerabilities.
In the upcoming sections of this guide, we will delve deeper into various strategies for pushing towards the B site through the mid area. These strategies will provide you with unique insights and tactics to adapt to different scenarios and overcome the challenges posed by the defenders.
Remember, the key to a successful attack on the B site lies in coordination, communication, and adaptability. Maintain clear communication with your teammates, adjust your strategy based on the evolving situation, and work together to overcome any defensive measures. By employing these strategies effectively, you can significantly enhance your team’s chances of securing victory on Ascent’s B site.
Mid push
Mid-control is a critical aspect of gameplay on Ascent in Valorant, serving as a battleground where the outcome of rounds can be decided. Whether you’re on the attacking or defending side, understanding the importance of mid-control and executing effective strategies is key to achieving success.
As an attacker, denying Operator players early picks can significantly disrupt the defenders’ setup and provide your team with an advantage. By neutralizing these high-impact snipers, you limit the defenders’ ability to secure crucial kills and control the map. Simultaneously, exerting pressure through mid towards A Link or Market can create openings and force defenders to divert their attention, potentially leaving other areas vulnerable.
When executing a push towards the B site, the strategic use of smoke screens becomes paramount. By selectively obscuring A Link and Market with well-placed smokes, you create a window of opportunity for your team to advance towards the site undetected. This not only mitigates the risk of being picked off by defenders, but it also disorients them and disrupts their defensive positioning.
Additionally, considering the utilization of utility to complement your mid-control efforts can further enhance your chances of success. Flashbangs, Molotovs, and other utility can be instrumental in flushing out defenders or forcing them into unfavorable positions. Coordinating these utility deployments with your teammates can create chaos and open up avenues for your team to execute a decisive push onto the B site.
It’s important to note that mid-round adjustments and adaptability are crucial in maintaining control over mid and capitalizing on opportunities. As the situation evolves, be prepared to modify your approach, switch up strategies, or exploit weaknesses that arise. Effective communication and teamwork are vital in ensuring that everyone is on the same page and can react quickly to changing circumstances.
Mastering mid-control on Ascent requires practice, coordination, and a deep understanding of the map’s dynamics. By honing your skills in denying Operator picks, applying pressure through mid, and executing well-coordinated pushes towards the B site, you can gain a significant advantage over your opponents and increase your chances of securing victory.
Continue to refine your strategies, communicate effectively with your team, and stay adaptable in your gameplay. By doing so, you’ll be well-equipped to dominate mid-control and emerge triumphant on the B site of Ascent.
Valorant Ascent smokes for defenders
Defensive smokes play a vital role in maintaining control and buying time for your team during defensive rounds in Valorant. These smoke screens serve as a powerful tool to impede your opponents’ progress and disrupt their strategies, ultimately thwarting their attempts to quickly secure the site.
By strategically deploying defensive smokes, you can create obstacles and obscure sightlines, forcing the attackers to hesitate and carefully navigate through the obscured areas. This delay can be crucial, as it allows your teammates to rotate and position themselves effectively to mount a strong defense. The smokes act as a shield, providing a temporary barrier that grants your team valuable time to set up crossfires, gather information, and coordinate their actions.
Furthermore, defensive smokes are not only effective during the initial defense but also during retake scenarios. When retaking a site, these smokes can be instrumental in breaking the line of sight between the defenders and the retaking players. By using smokes strategically, you can create opportunities for your team to catch the attackers off-guard, isolate individual opponents, and regain control of the site.
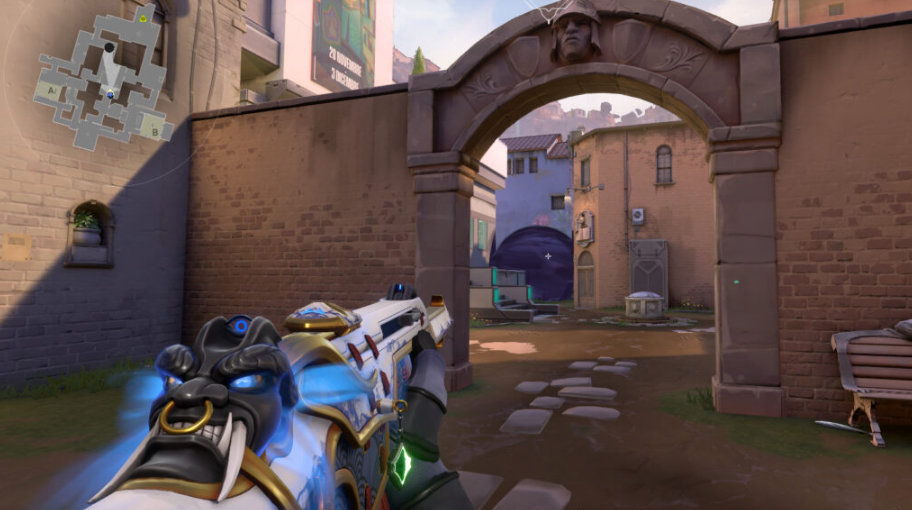
A main
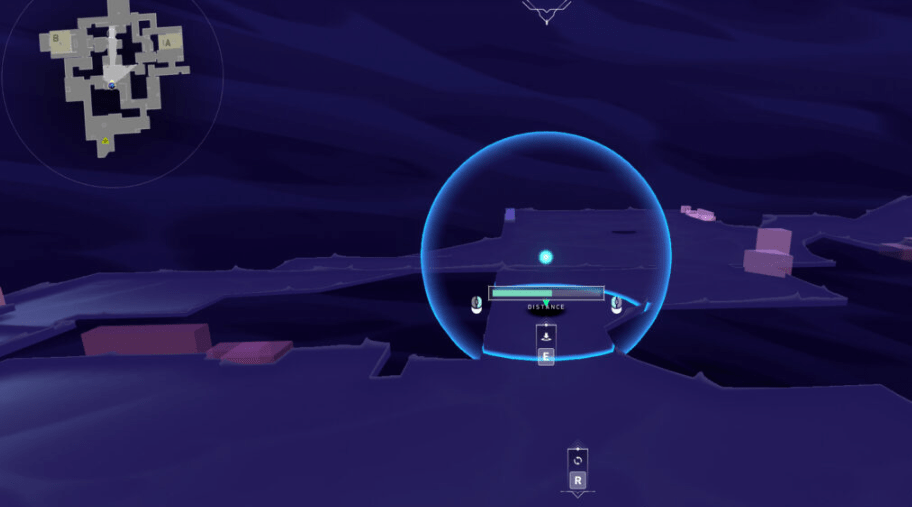
When it comes to defending or retaking the A site in Valorant, one of the go-to strategies is deploying a standard smoke towards A main. This particular smoke serves as a versatile tool with multiple benefits for the defending team.

First and foremost, by directing a smoke towards A main, you effectively create a significant obstacle for the attackers. This smoke cuts off a valuable chokepoint that the attackers rely on to access the site. As a result, it forces them to either push through the smoke blindly, which puts them at a disadvantage due to limited visibility, or to divert their path and find alternative routes into the site. This delay and redirection can buy precious time for the defenders to reposition, gather information, or even rotate to reinforce the A site defense.
In addition to its defensive applications, the smoke towards A main also proves useful during retake scenarios. When the defenders are attempting to retake the A site after it has been compromised by the attackers, this smoke can play a crucial role in blocking off certain angles or lines of sight. By obscuring vision and denying the attackers easy shots, the smoke provides the retaking defenders with a tactical advantage, allowing them to approach the site more safely and catch the attackers off-guard.
It’s important to note that mastering the placement and timing of the A main smoke is key to its effectiveness. Proper communication and coordination with your team are essential to ensure everyone understands the intended purpose and execution of the smoke. By working together, you can synchronize your efforts and maximize the impact of the smoke, making it harder for the attackers to penetrate the A site or hold their ground during a retake.
While the standard smoke towards A main is a reliable strategy, it’s important to remain adaptable and not solely rely on this tactic. Skilled opponents may anticipate and counter it, so it’s crucial to mix up your approach, utilize other utility, and maintain overall map control to keep the attackers guessing and maintain a strong defensive presence.
In conclusion, the standard smoke towards A main is a versatile tool that can significantly disrupt the attackers’ progress and provide advantages for the defending team during both initial defense and retake scenarios. By effectively utilizing this smoke, you can impede the attackers’ entry into the A site and create opportunities for successful defensive plays.
A one way
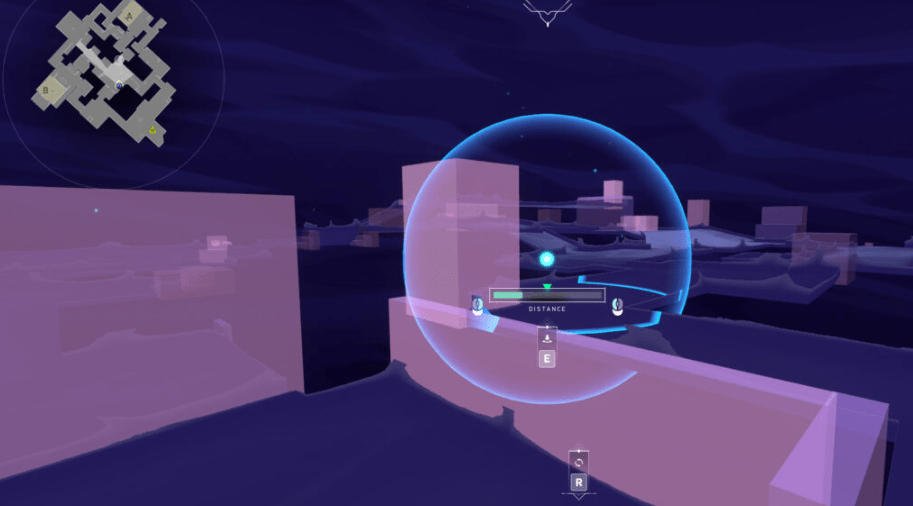
An alternative smoke strategy that can be advantageous for initiating early engagements is the implementation of a one-way smoke. These smokes, which provide a limited line of sight for the defending team while obscuring the vision of attackers, are a significant factor contributing to Omen’s popularity as a controller on this particular map.

The utilization of one-way smokes allows defenders to gain a tactical advantage by selectively revealing or concealing specific areas on the map. By strategically deploying these smokes, defenders can create situations where they have clear sightlines to engage and eliminate unsuspecting attackers, while maintaining the element of surprise and minimizing their own exposure.
This particular smoke strategy adds an extra layer of complexity and unpredictability to the gameplay, as attackers must navigate through areas where defenders have the upper hand. Omen, with his unique abilities to teleport and create smokescreens, becomes a favored choice for players looking to capitalize on the tactical advantages provided by one-way smokes.
It’s worth noting that mastering the placement and timing of one-way smokes requires practice, coordination, and a deep understanding of the map’s dynamics. Clear communication with your team is crucial to ensure everyone is aware of the advantages and limitations of these smokes. By effectively using one-way smokes, you can control engagements, catch opponents off-guard, and create opportunities to gain an early advantage in rounds.
However, it’s important to remember that one-way smokes are not foolproof and can be countered by observant opponents who are familiar with their existence and potential locations. Adapting your strategies, varying your approach, and maintaining flexibility are key to staying one step ahead of your opponents and maximizing the effectiveness of one-way smokes.
In summary, incorporating one-way smokes as part of your defensive strategy can provide a significant advantage in early engagements by granting defenders a favorable position. Omen’s abilities make him a popular choice for executing these tactics. By mastering the deployment and coordination of one-way smokes, you can create a tactical advantage and increase your chances of success on the map.
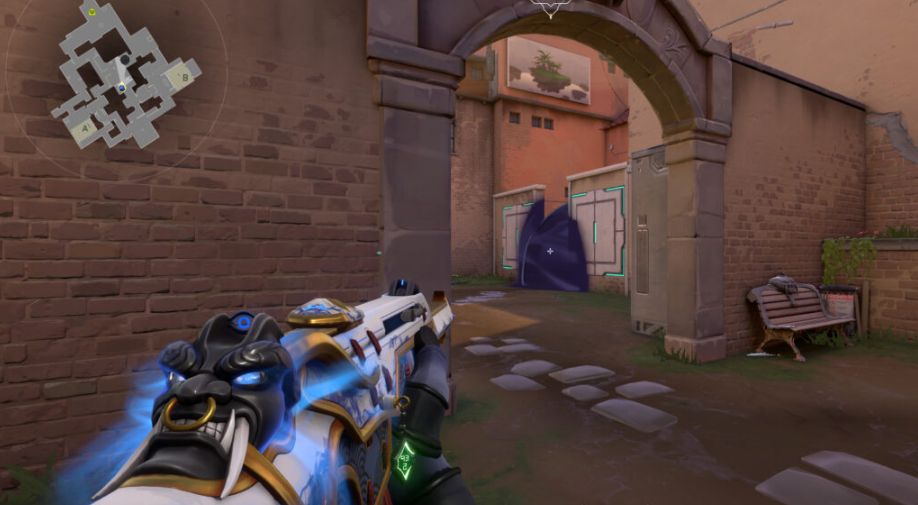
B main
Similar to the smoke deployed on the A site, the defensive or retake smoke on the B site is typically placed towards the B main chokepoint. This strategic smoke placement holds significant importance, particularly in retake scenarios, as it disrupts the crossfire opportunities that defenders often establish between B main and key areas such as the site, lane, or switch.

By deploying the smoke towards B main, defenders create a barrier that obstructs the line of sight for attackers and reduces the effectiveness of crossfires. This forces defenders to adjust their positions and adapt their strategies, making it more challenging for them to maintain control over the site or hold advantageous angles.
During retake situations, the smoke towards B main becomes even more crucial. It limits the defenders’ ability to maintain strong crossfires and hampers their ability to eliminate retaking players as they enter the site. This gives the retaking team a better chance to neutralize defenders and regain control of the B site.
It’s important to note that proper communication and coordination within the team are essential when deploying the B main smoke. By ensuring that everyone understands the intended placement and purpose of the smoke, you can maximize its effectiveness and create a more favorable situation for your team during defensive or retake scenarios.
However, it’s worth mentioning that the effectiveness of the B main smoke may vary depending on the specific circumstances of each round and the strategies employed by the opposing team. Adapting your tactics, considering alternative smoke placements, and maintaining situational awareness are crucial for success in dynamic and unpredictable situations.
In conclusion, the smoke towards B main plays a significant role in defending the B site and executing successful retakes. By strategically deploying this smoke, you disrupt crossfire opportunities and create openings for your team to regain control. Effective communication and adaptability are vital in maximizing the benefits of the B main smoke and increasing your chances of success in Valorant.
B one way
Just like the one-way smoke on A main, you have the option to utilize a similar tactic in the B lobby if you wish to gain an early advantage or position an Operator aggressively to cover that angle.
By deploying a one-way smoke in the B lobby, you create a situation where defenders have a limited line of sight while attackers may still be visible. This allows you to take a quick peek at the enemy’s movements or set up an Operator in a strategic position to secure kills from that angle.

The advantage of using a one-way smoke in the B lobby is that it can catch opponents off-guard and provide you with valuable information or opportunities for early picks. It adds an element of surprise to your gameplay and can potentially disrupt the enemy’s strategies.
However, it’s important to note that one-way smokes require careful placement and timing to be effective. Practice and coordination with your team are crucial to ensure everyone understands the intended purpose and execution of the smoke. This way, you can capitalize on the advantages it provides and potentially gain an early advantage in the round.
It’s worth mentioning that opponents who are aware of one-way smokes may attempt to counter or avoid them. Therefore, it’s important to remain adaptable and have alternative strategies in place to maintain unpredictability and stay one step ahead of your opponents.
In summary, deploying a one-way smoke in the B lobby can be a tactical decision to gain an early advantage or position an Operator aggressively. It can catch opponents off-guard, provide valuable information, and potentially secure kills. However, it requires practice, coordination, and adaptability to use effectively in order to maximize its impact on the game.
Valorant Ascent smokes for mid control
On Ascent, the mid-angles hold immense importance in shaping the outcome of the game. They serve as critical points for early engagements, mid-round rotations, and overall map control. Understanding how to effectively utilize these mid-angles can give your team a significant advantage.
When playing as attackers, deploying smokes in key areas like top-mid (A link) and market becomes crucial. These smokes create a smokescreen that allows your team to maneuver through the mid-section and execute strategies such as the B-mid split. By executing this split, you apply pressure on the defenders from multiple angles, making it difficult for them to hold their ground.
However, it’s essential to remain adaptable and read the situation as it unfolds. If you notice that defenders are heavily anticipating an attack on the B site or if you manage to secure a pick on the A site, it might be a wise decision to change your approach. In such cases, pivoting towards A link and redirecting your focus towards the A site can catch the defenders off-guard. To ensure a safe passage while crossing mid, utilizing a mid smoke becomes crucial. This smoke obscures the vision of your opponents, reducing the risk of getting picked off and providing cover for your team.
While smokes are effective in blocking vision, it’s important to be mindful of defensive counterplays. Defenders may attempt to push through the smokes using flashes and other initiator utilities. For instance, a well-timed Sova recon dart can reveal your exact location, making you vulnerable to enemy aggression. Therefore, maintaining situational awareness and being prepared for potential counterattacks is essential.
In summary, mastering the mid-angles on Ascent is vital for achieving success in Valorant. Proper utilization of smokes in areas like top-mid and market can create opportunities for executing effective strategies and putting pressure on the defenders. However, adaptability and strategic decision-making are equally important. By staying aware of the situation and adjusting your approach accordingly, you can maximize your chances of victory on Ascent.