How to fix CS:GO’s “VAC was unable to verify” error in CS:GO

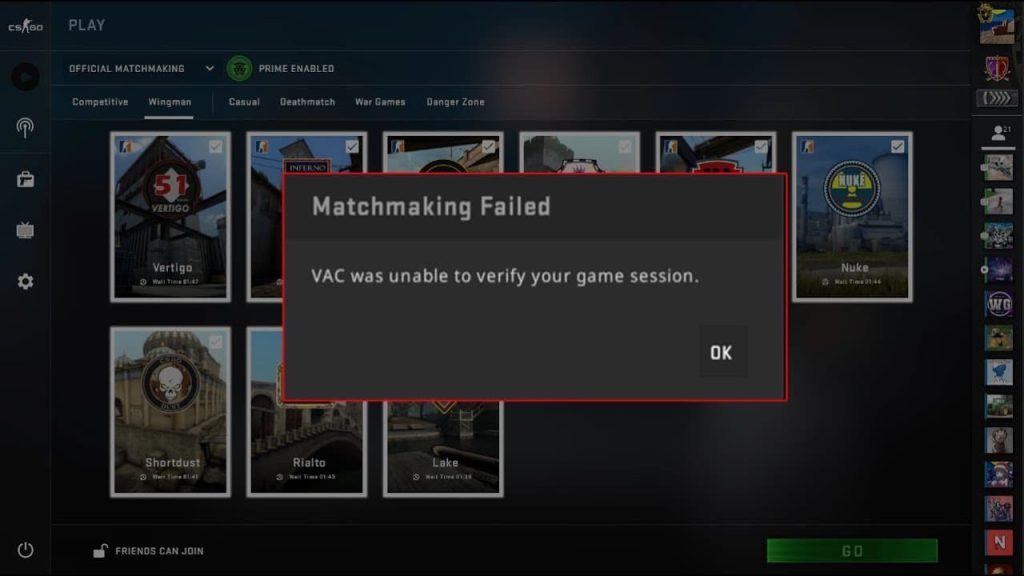
When starting playing CS:GO after a new update or after a long time, some players (even more experienced ones) may face one of the infamous errors, “VAC was unable to verify your game session”. VAC stands for “Valve Anti-Cheat” and means that your files are not installed in a correct way, confusing the VAC system.
Valve’s anti-cheat is the barrier preventing cheaters from prospering in the CS:GO matches. This anti-cheat system is built to determine whether your in-game files have been tweaked in order to give an unfair advantage.
But why does this error message pop up? Unluckily, there are several reasons why such message may appear, and it can happen any time. Whether it occurs during server outages, after Steam or CS:GO maintenance, or other arbitrary times, it is an irritating obstacle that must be overcome to resume your gaming experience.
Here’s a complete guide on how to fix this error.
Table of Contents
How to fix “VAC was unable to verify your game session” error: solutions
Reboot your PC
Yes, first and foremost, turn your PC off and then on again. It seems so ordinary, but it’s the first thing that should be done with most PC game issues. A simple reset could be all that’s needed to fix the problem.
Make sure you’re not VAC banned
It goes without saying that VAC ban could be a problem as well. So do not forget to check this out.
- Go to the Steam launcher and click on “Steam” in the top left corner
- Click “Settings”
- Go to the “Account” tab
- Check the “VAC Status”
A VAC ban is essentially a death sentence for an account. “No VAC Bans on account” means you’re clear!
So, if you’re not banned, perform the following preliminary checks:
- Leave your game session, restart the game, and try to matchmake again
- Restart the Steam client
- Re-log into your Steam account after logging out
- Disable an antivirus you use, or whitelist the Steam client and directory folders
- In case you use a VPN, turn it off
- Make sure your Steam client and game are up-to-date
- Make sure your operating system is up-to-date
If none of these checks help, then it’s time to dig deeper.
Verify Integrity of game files fix
The “VAC was unable to verify your game session” error may occur due to improper installation of the game files. Follow the steps to update your game.
- Log into your Steam account
- Head to your Steam library and right-click your game
- Select “Properties” from the drop-down menu
- In the menu, click the “Installed Files” tab
- Navigate and click on the “Verify integrity of files” button
Once you hit that button, you’ll have to await a few minutes or more depending on the state of your PC. As soon as it’s done, you’ll be able to restart the game.
CS:GO will start an update as you load up the game. This will only take another 30 seconds. Once that’s done, you should be able to reconnect to your match.
Before you load up CS:GO again, make sure to restart Steam as well, to be safe. If the VAC error continues to show up, reinstalling CS:GO is your next best option. It’s tiresome and it might take longer than you hoped, but a fresh restart of CS:GO will ensure VAC is re-installed, which should eliminate any more issues.
Other “VAC was unable to verify” fixes
If the game file integrity verification and a fresh reinstallation of CS:GO don’t work, you need to contact Valve customer support team on Steam to find the solution for this issue.
Hopefully, our guide will help you fix the “VAC was unable to verify your game session” error in case you have to face this problem.